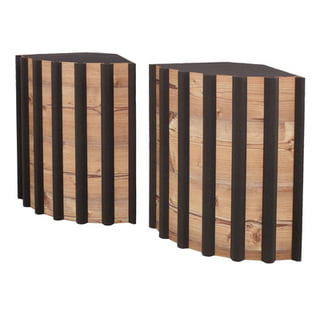
Bass Traps
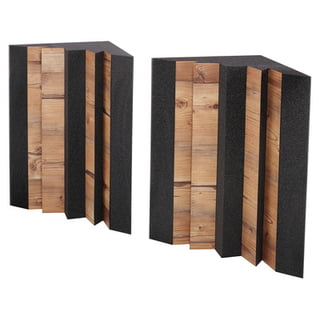
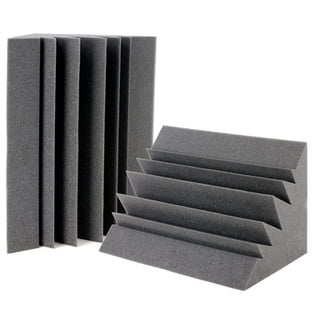
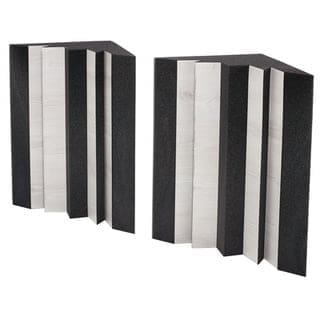
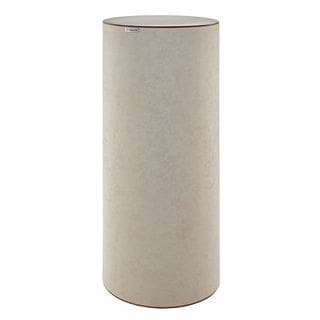
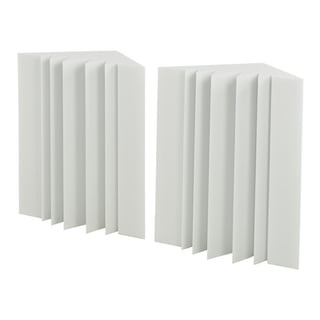
Low frequencies have a lot of energy and tend to build up in the corners of the room. This is where special bass traps are used, which are optimized for absorbing low frequencies. This helps to achieve a drier and more balanced low frequency reproduction in the room.
Start by filling the corners with bass traps. After that, you can add additional bass traps between the walls and ceiling. Generally speaking, you can never have enough bass traps! In addition to glueing them directly into the corners, add a generous amount along the entire length of the room.
All bass traps included with t.akustik sets are easily stackable. Glueing them to the walls and ceiling ensures that they cannot fall over by accident. Make sure that the surface is as smooth as possible and free of any residue. Then, apply a generous amount of glue to the entire back of the bass trap and press the bass trap in position.
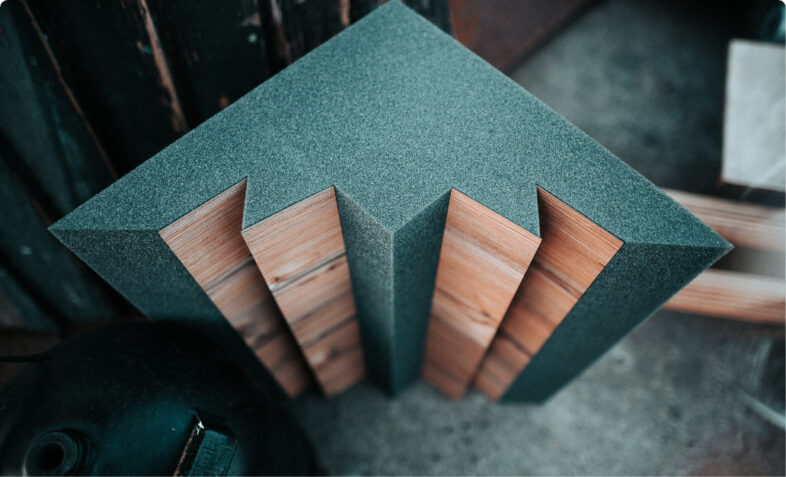
Installation Bass Traps
Bass Traps from our t.akustik sets are easy to install on walls and ceilings. Apply an ample amount of the special glue to the back of the diffuser using the included caulk gun. Then, carefully press the Bass Trap in the desired position – that’s it.
Assembly videos
Mounting Instructions
These instructions are for the following products: CBT-37, CBT-37 Flock, CBT-37 Melamine, CBT-1, CBT-2, CBT-3, Melamine Cornertube, AC-37.
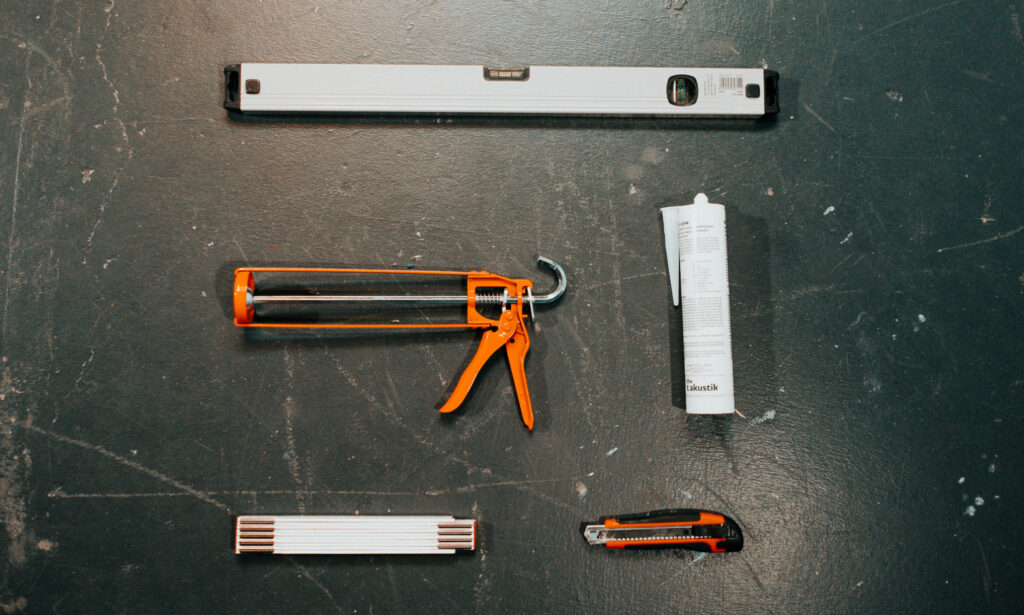
Tools
The following tools are required for installation:
- Box cutter/utility knife
- Caulk Gun
- Pencil
- Level
- Folding ruler or tape measure
- t.akustik glue
We recommend using our t.akustik glue for installation.
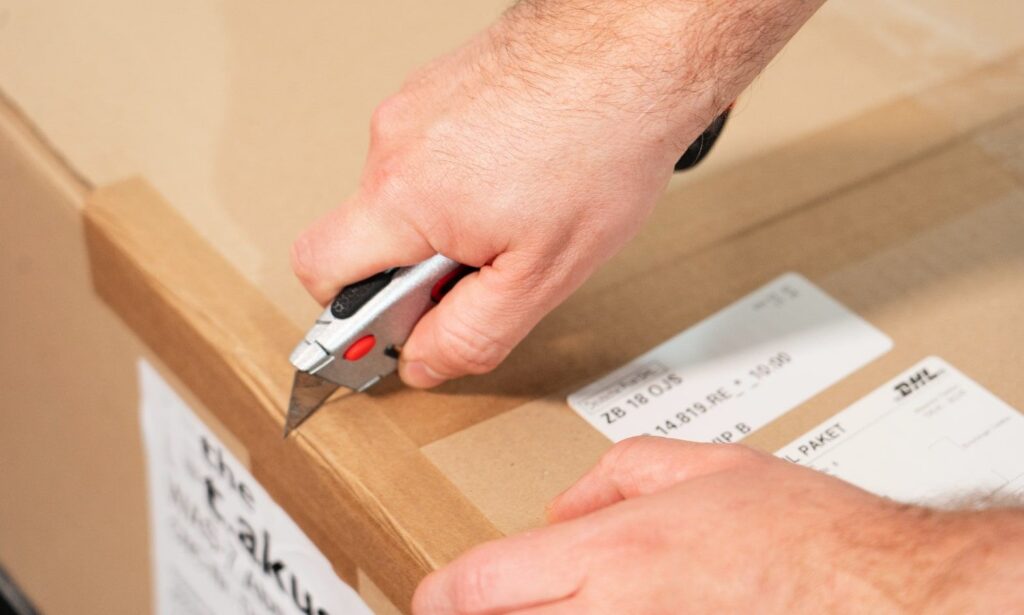
Unboxing
Open the package carefully! Inserting sharp objects into the package can damage the bass traps. Avoid using long, sharp tools for opening the package!
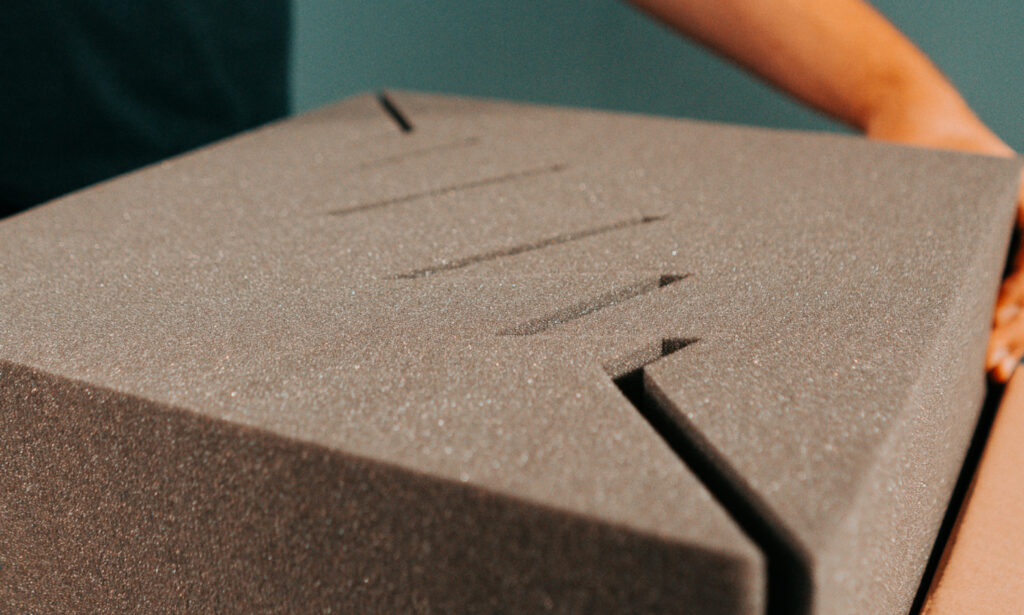
Remove products from packaging
Carefully remove the products from the package. Bass traps come with two elements per package. Take care when separating the elements from each other, especially with melamine foam models.
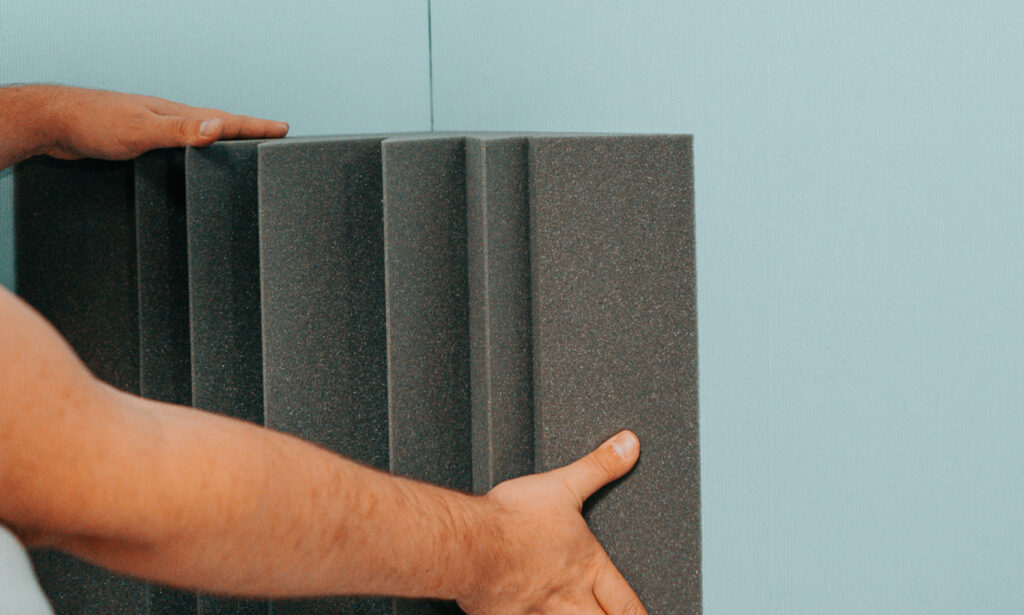
Determine the position
While determining the mounting positions, it helps to mark the walls and ceiling using a level and tape measure. The angle between the walls must be verified prior to installation.
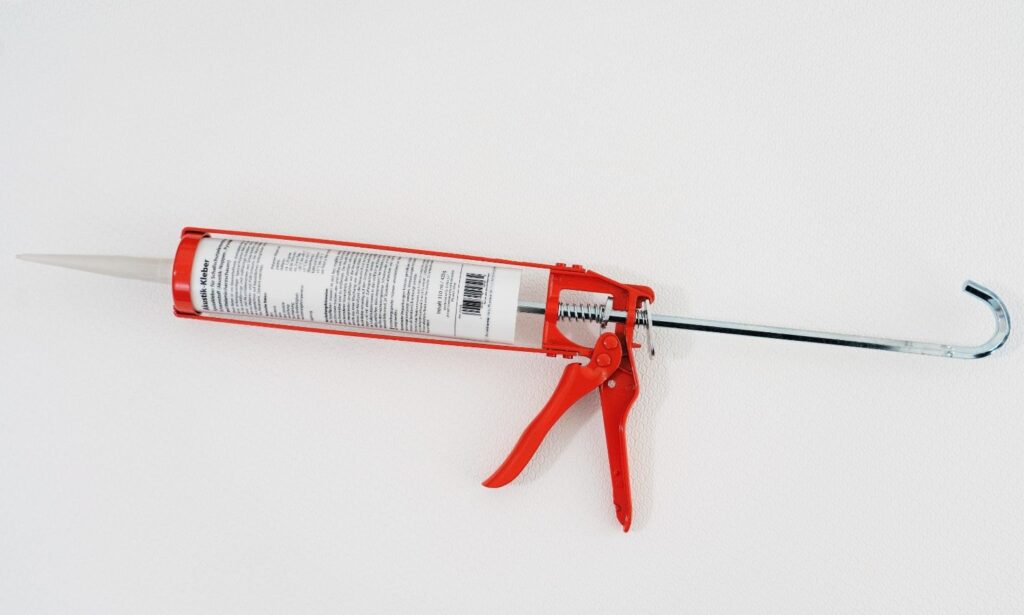
Prepare the caulk gun
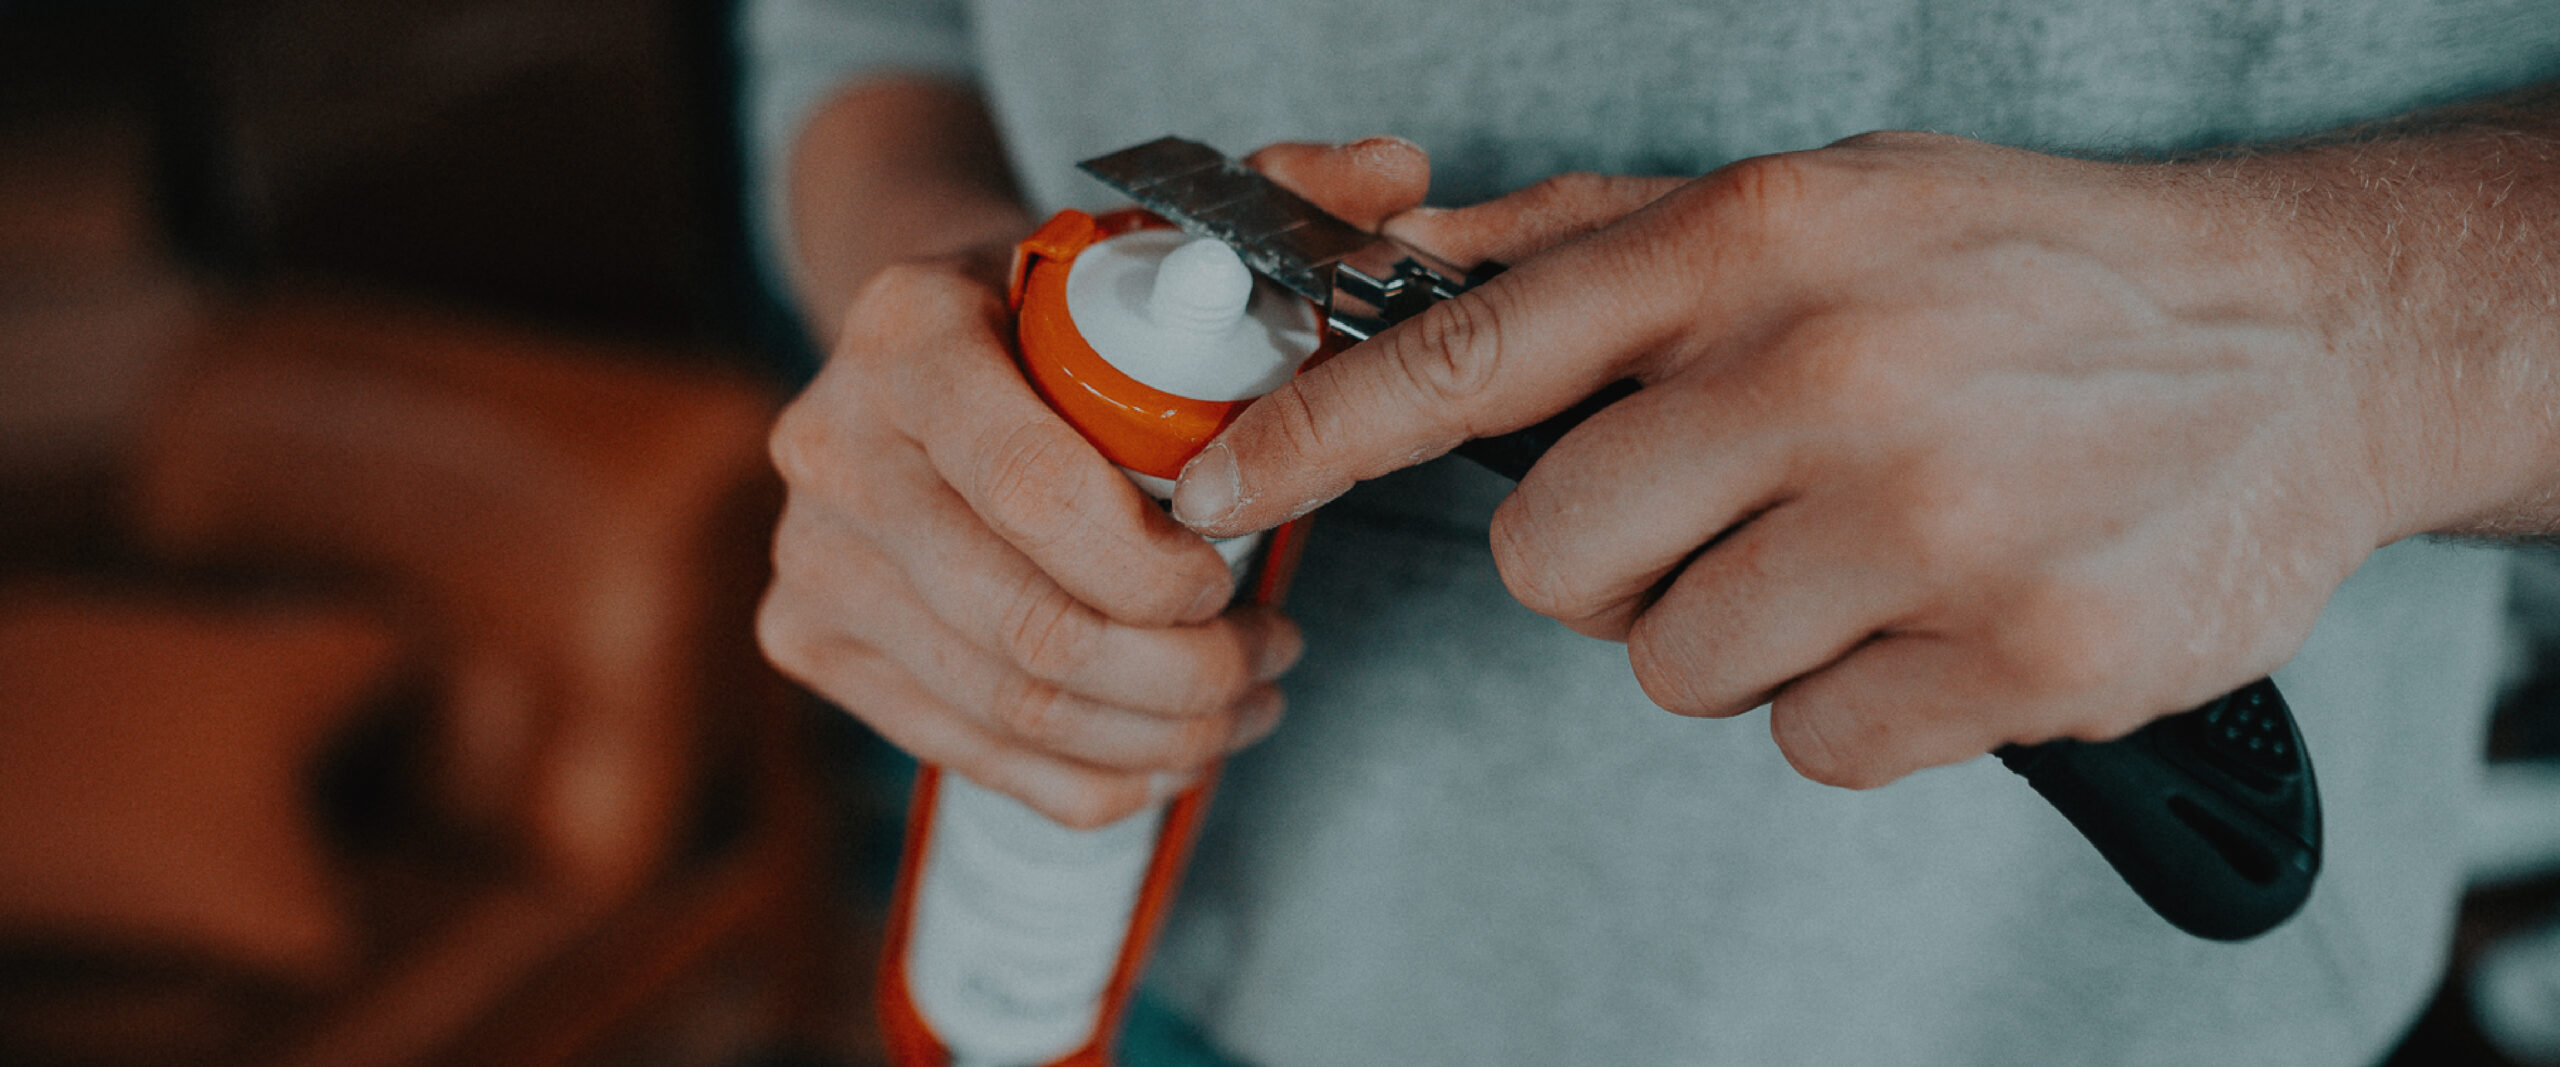
Carefully open the glue cartridge using a utility knife. Take care to point the knife away from your body. Thread the included nozzle onto the opening. Insert the cartridge into the caulk gun. For thicker lines of glue, you can use the knife to enlarge the opening of the nozzle.
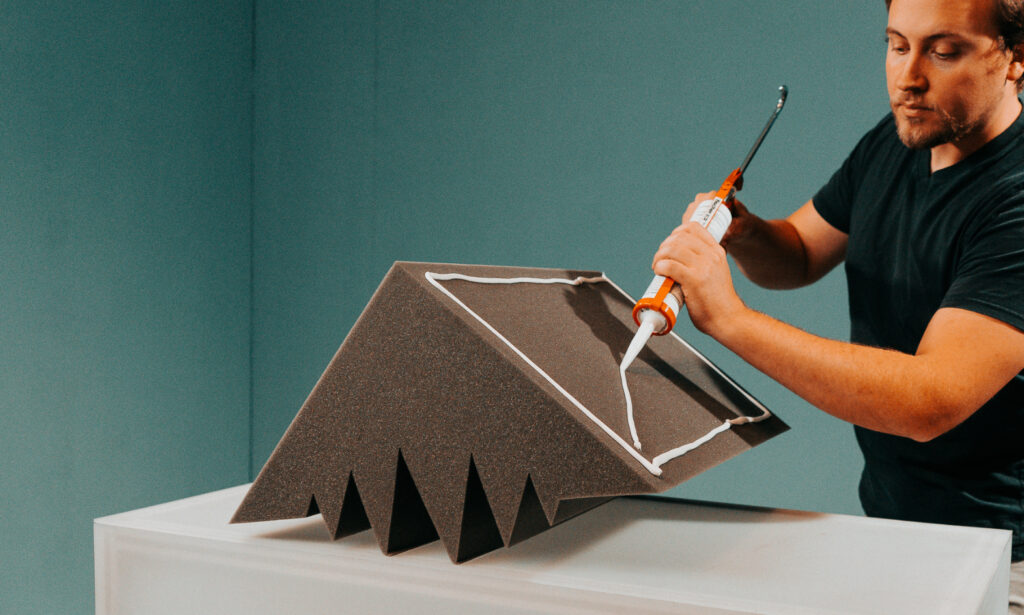
Apply the glue
Apply the glue to the back of the bass trap in an even line along the outer edges. It also helps to apply some glue to the center of the bass trap in an X pattern, in order to hold the center firmly in place on both walls. Depending on the condition of the walls and corners, custom cuts may need to be made.
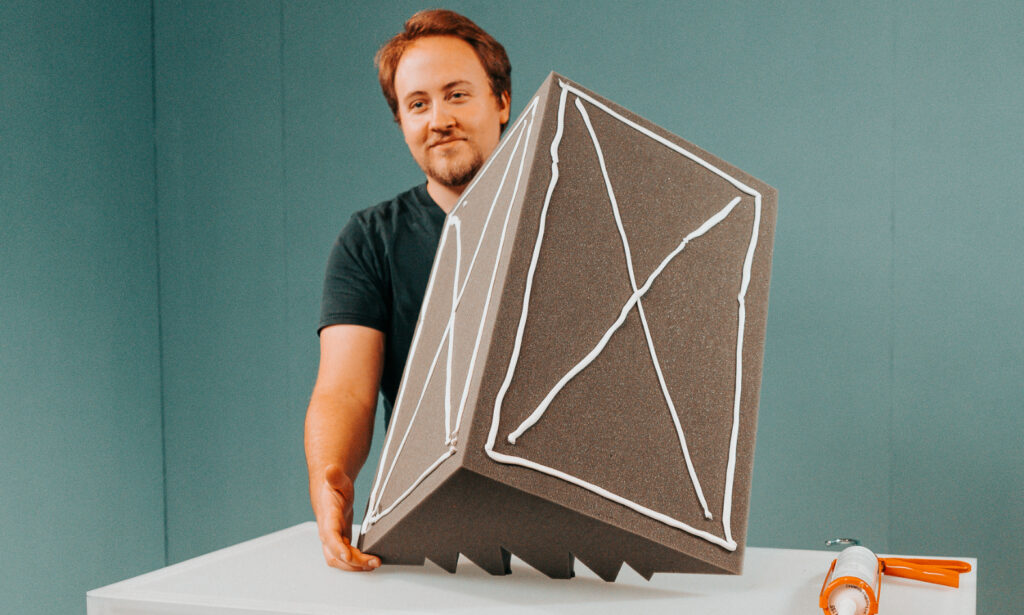
Let glue set for 5 minutes
Before mounting the bass trap on the wall, let the glue set for 5 minutes on the element. This ensures that it can develop its full holding strength.
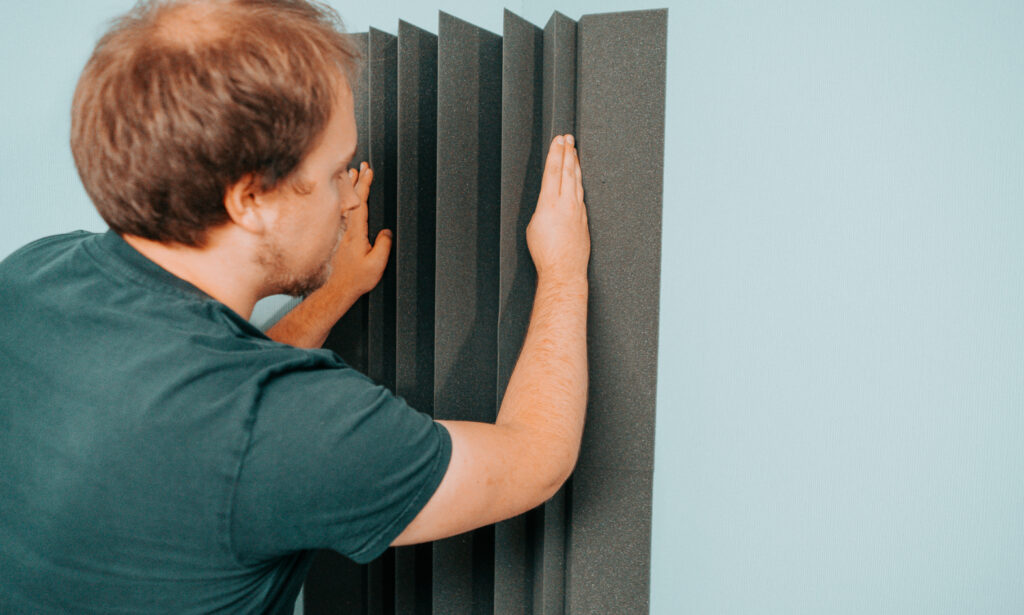
Install the bass trap
Press the bass trap into the corner in the marked position and apply even pressure to the lines of glue for 2 minutes. Repeat the process for any additional elements and stack them on top of each other. That’s it!
More Videos
Topseller
Also Interesting
