You are currently viewing a placeholder content from YouTube. To access the actual content, click the button below. Please note that doing so will share data with third-party providers.
More Information
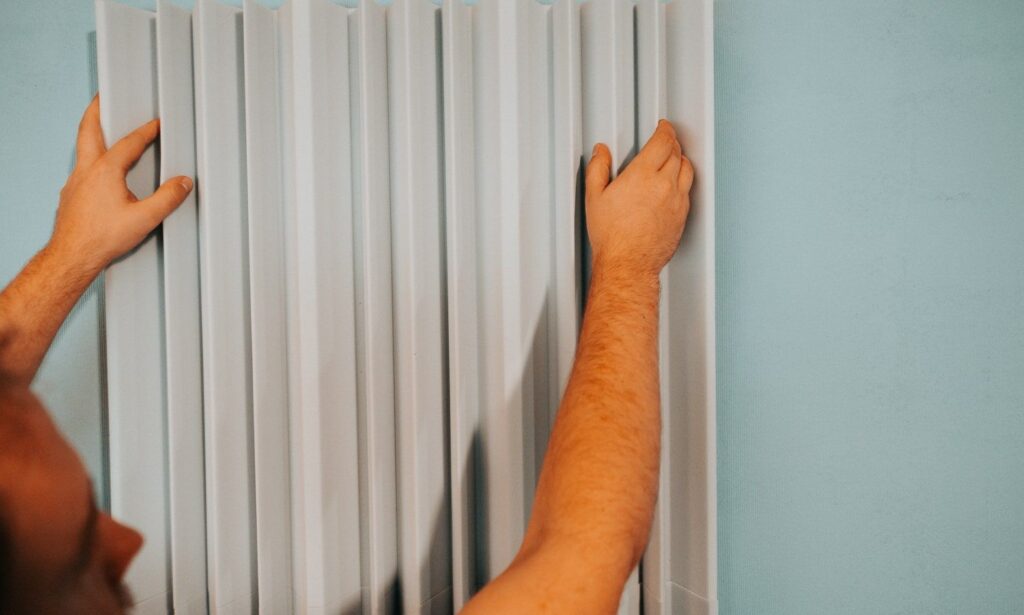
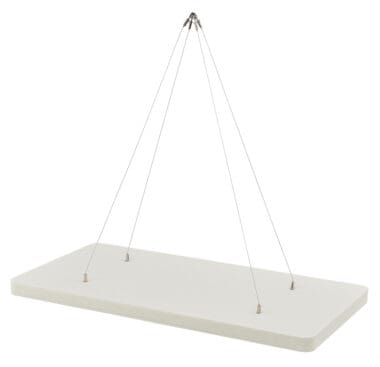
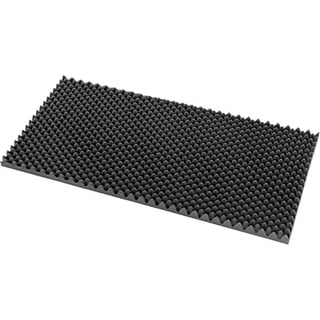
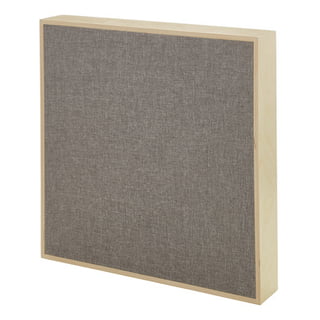
Absorber Highline A1
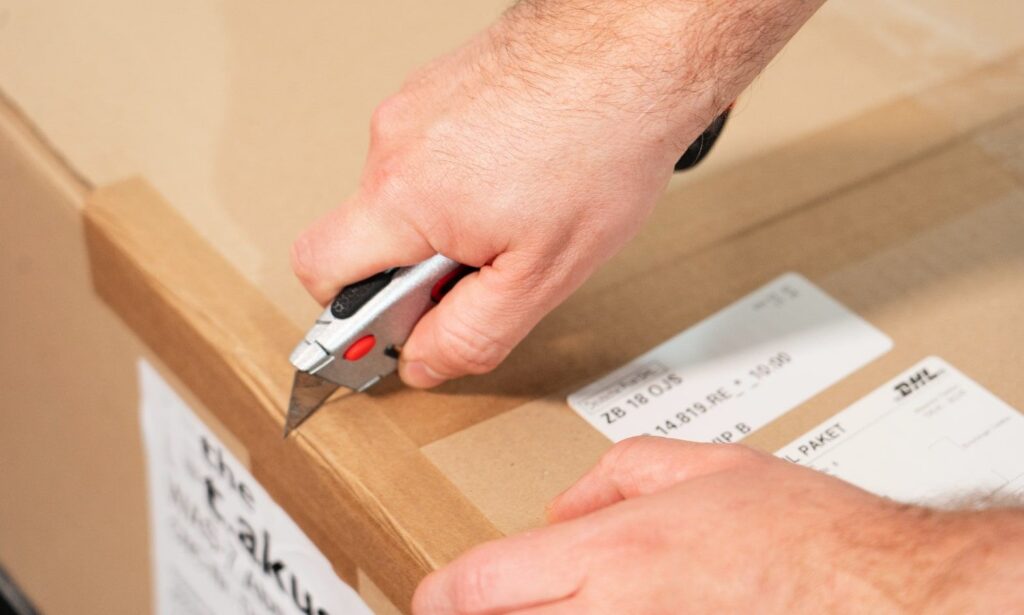
Discover how to install your Highline A1 Absorber in a few simple steps with this step-by-step video! We guide you through the process of installing our glue-on absorbers, giving you detailed insights into the process – Install your new absorber now!
You are currently viewing a placeholder content from YouTube. To access the actual content, click the button below. Please note that doing so will share data with third-party providers.
More Information
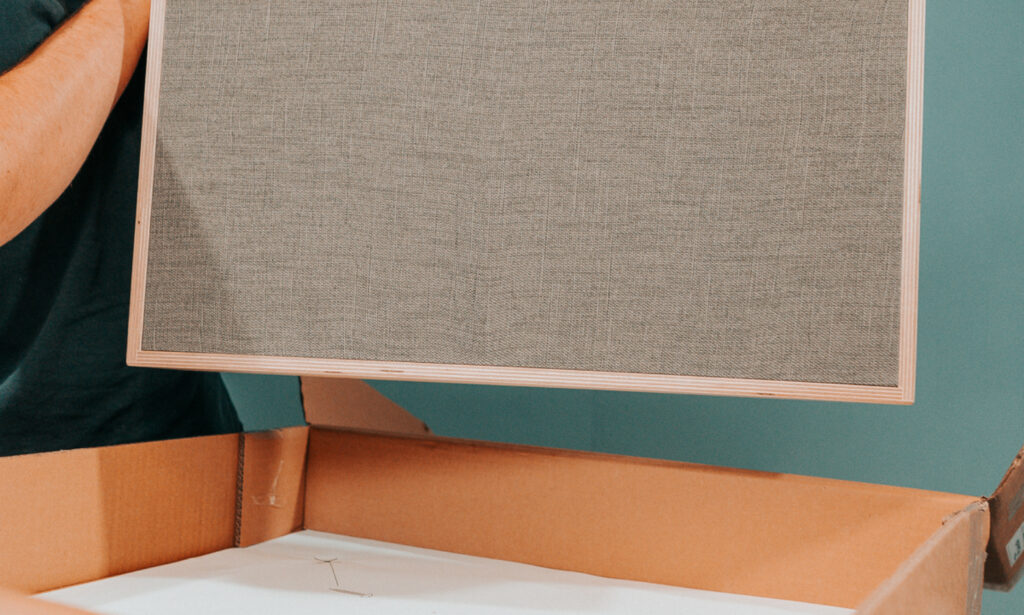
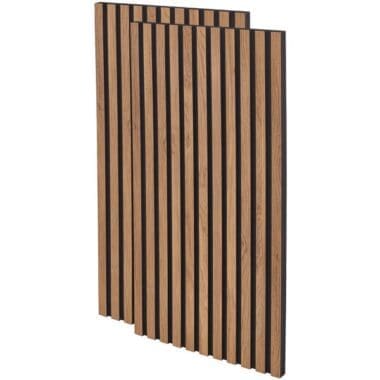
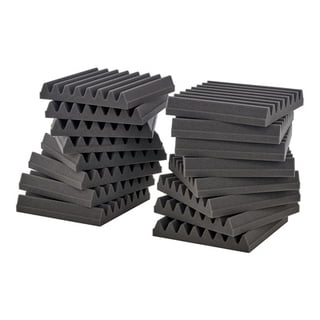
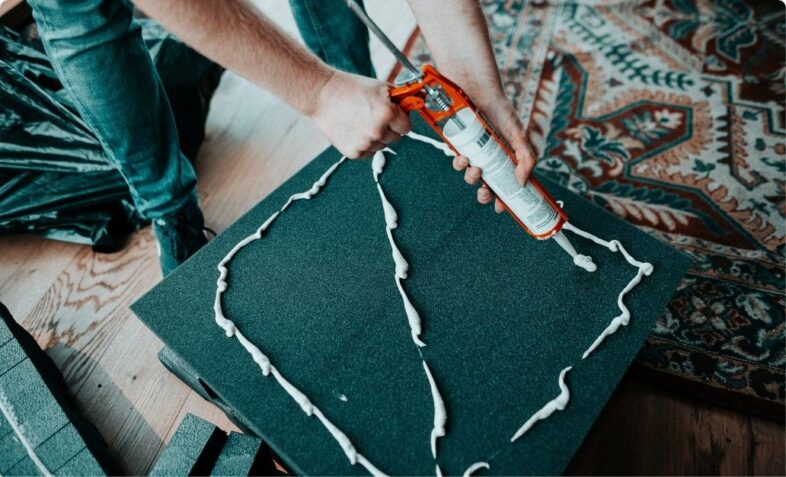
Absorber WAS-7
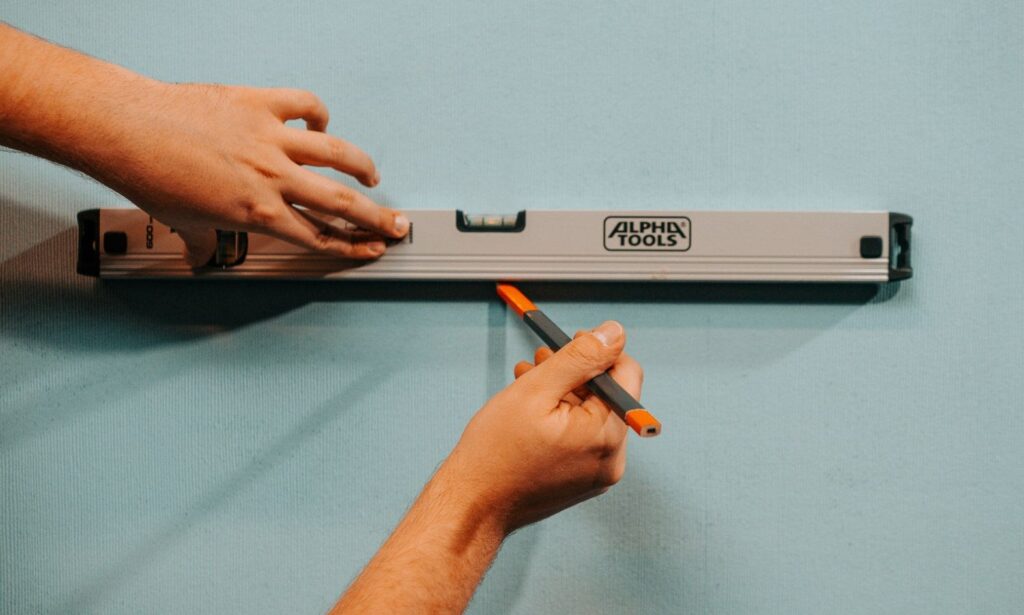
Discover how to install your WAS-7 in a few simple steps with this step-by-step video! We guide you through the process of installing our glue-on absorbers, giving you detailed insights into the process – Install your new absorber now!
You are currently viewing a placeholder content from YouTube. To access the actual content, click the button below. Please note that doing so will share data with third-party providers.
More Information
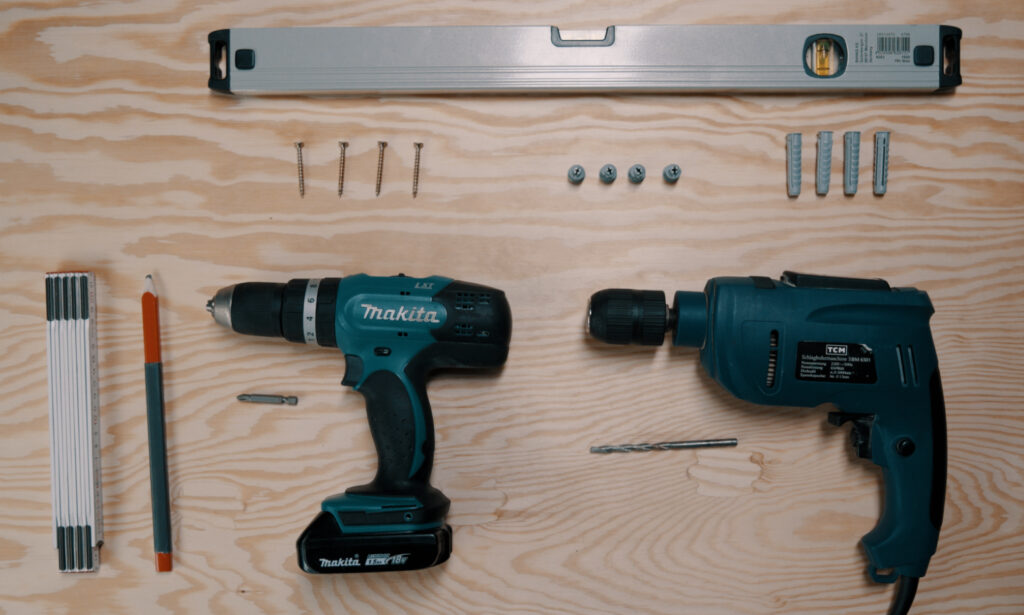
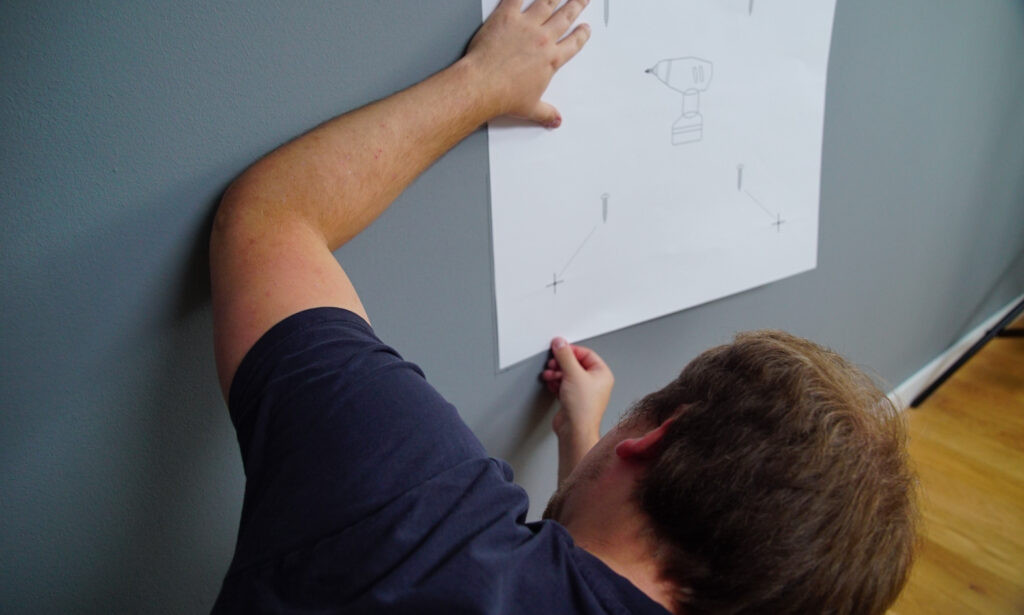
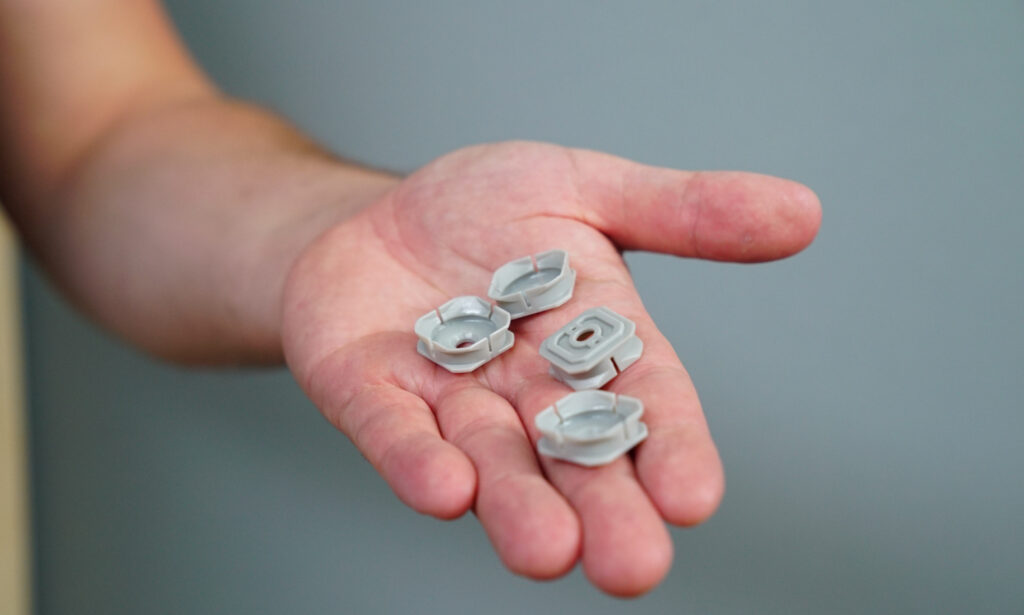
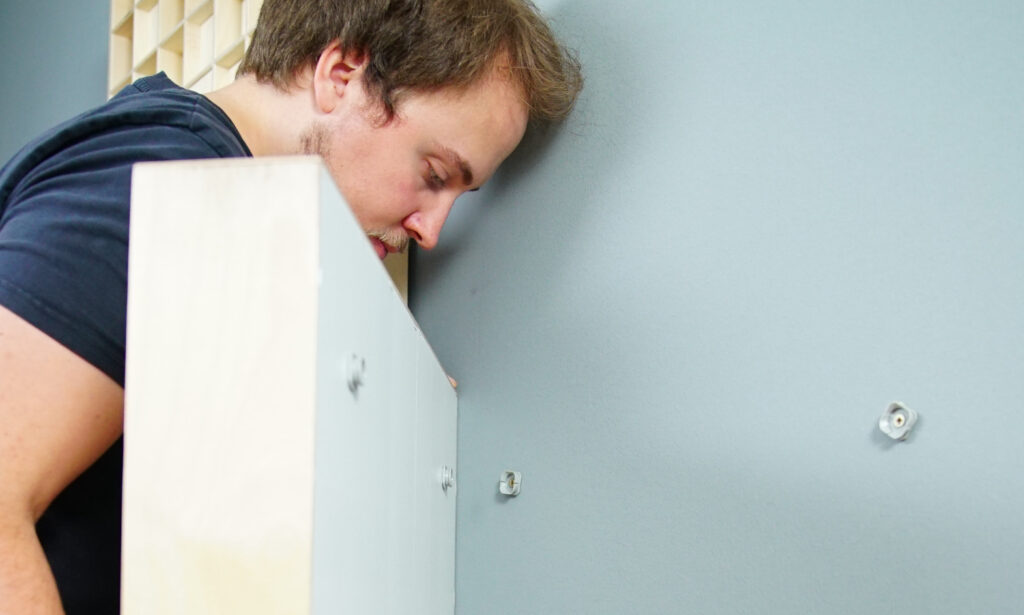
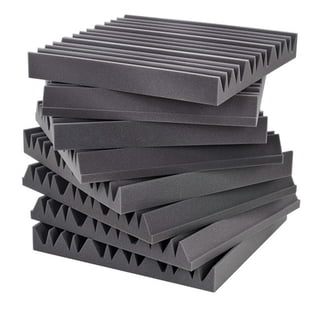
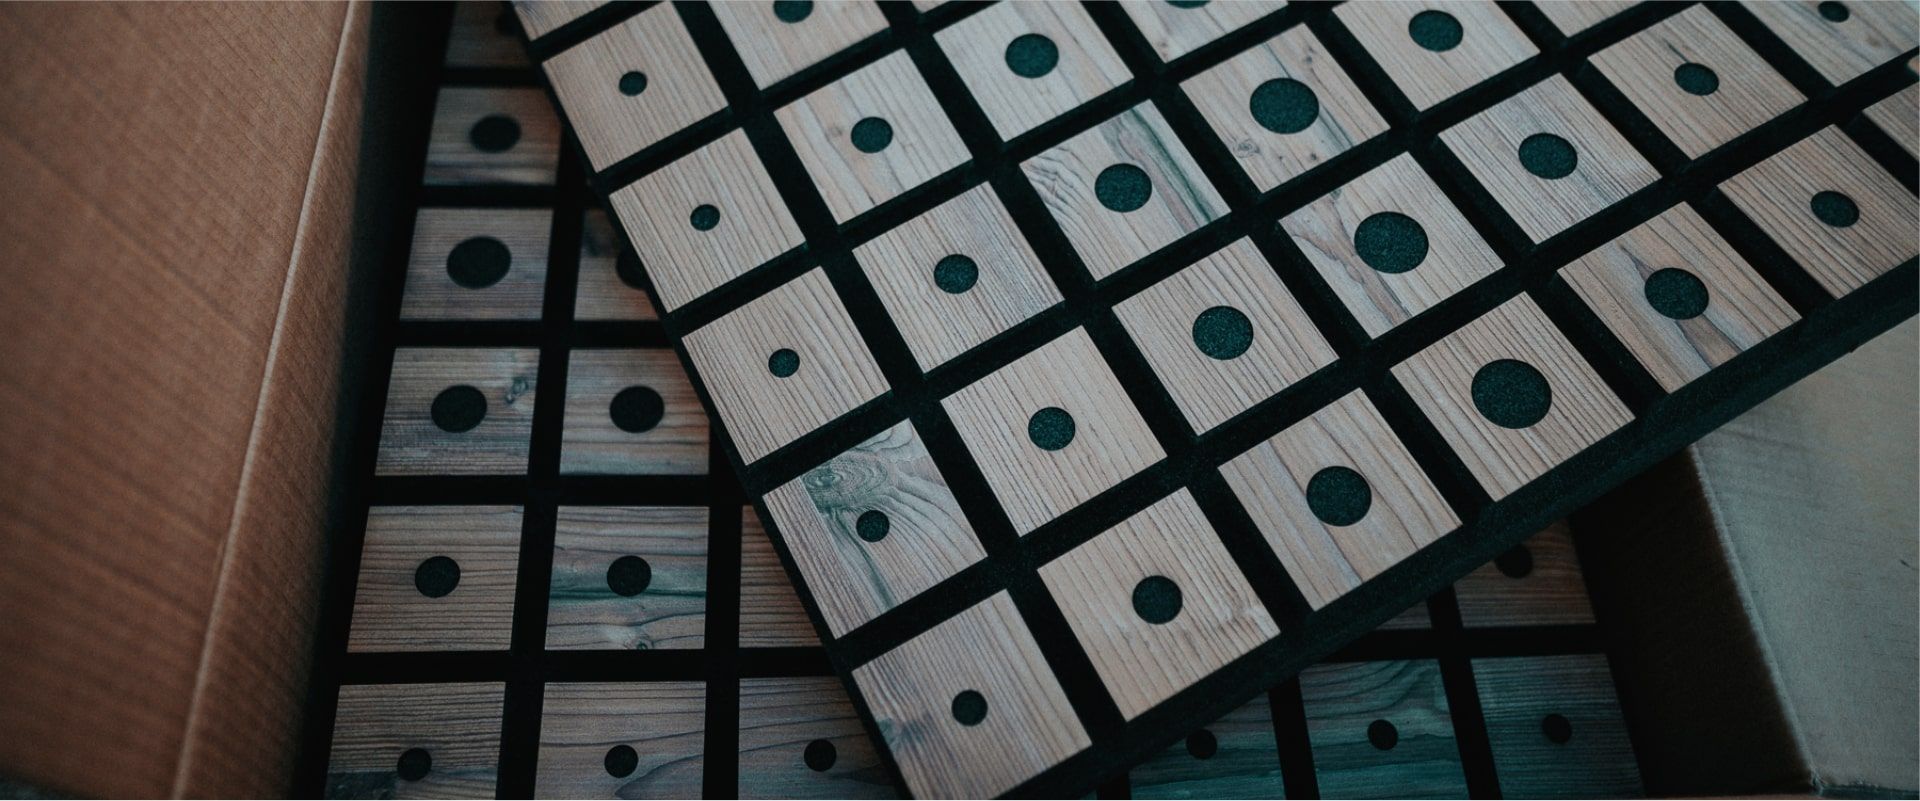
Absorber Spektrum A10
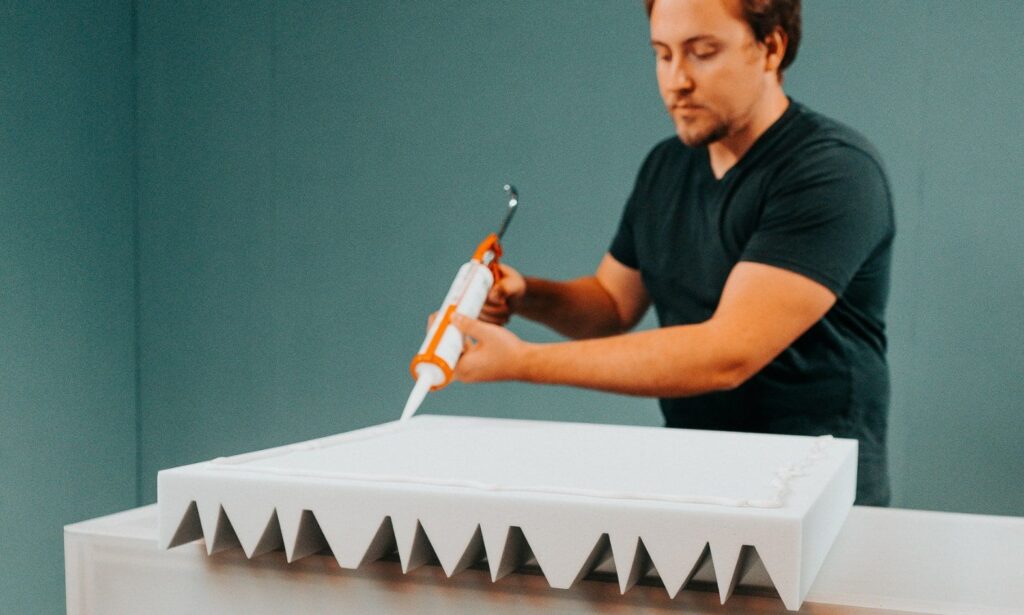
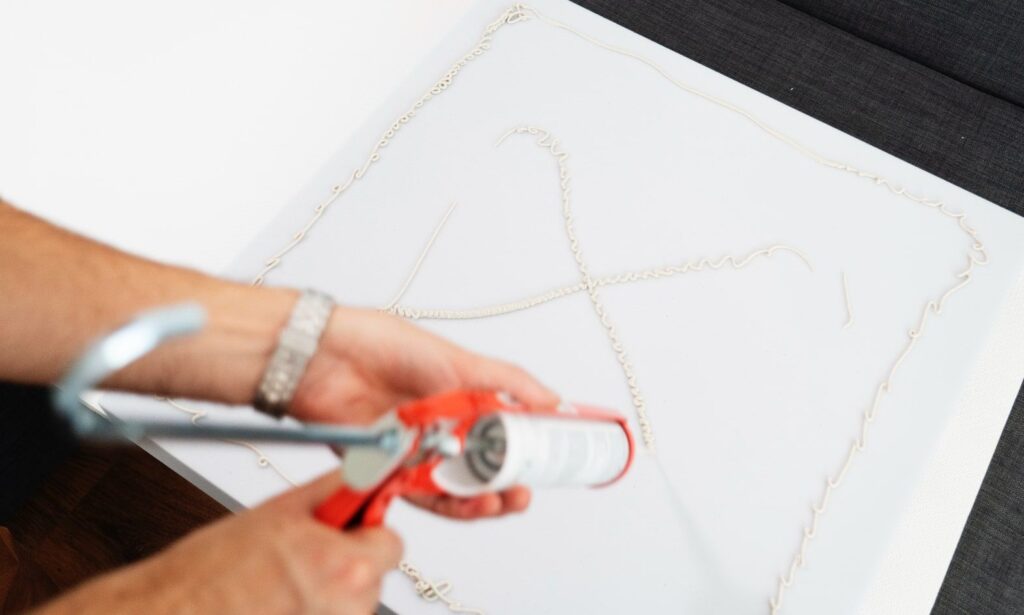
Our A10 absorber is a breeze to install – but in case you need a few pointers, our easy-to-follow installation videos show you exactly what equipment you need and how to get your new absorber and other screw-in products from t.akustik mounted quickly and easily.